Introduction: –
Who says beautiful nail art has to come with a hefty price tag? You don’t need a lavish budget to express your creativity and rock-stunning nail designs. In fact, at-home nail art can be a rewarding and budget-friendly hobby for those who love self-care and want to pamper themselves without draining their wallets. In this article, we’ll explore the world of budget-friendly nail art. We’ll dive into affordable designs that require minimal tools and products, provide step-by-step guides, discuss essential and cost-effective tools, and share tips on maintaining your nail art without burning a hole in your pocket. Let’s embark on this thrifty nail art journey together!
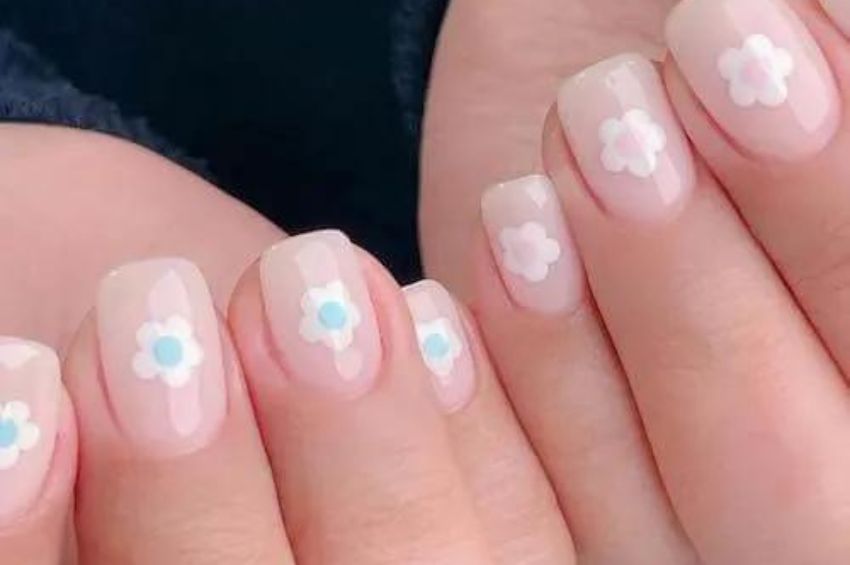
Source: @jininailstudio
Budget-Friendly Nail Art:
Creating beautiful nail art doesn’t have to cost a fortune. With a dash of creativity and some clever choices, you can achieve salon-worthy designs without the salon prices. Here’s how:
Affordable Nail Art Designs You Can Do at Home
1. Simple Geometric Shapes: Triangles, squares, and lines can be achieved with just a steady hand and basic nail polish colors. No need for fancy tools!
2. Gradient Nails: Create a trendy gradient effect by blending two or more complementary nail polish colors. All you need are makeup sponges and your chosen polishes.
3. Splatter Paint Nails: Achieve an artsy look by thinning nail polish with a bit of acetone and flicking it onto your nails using an old toothbrush.
Step-by-Step Guide to DIY Budget-Friendly Nail Art Designs: –
Simple Geometric Shapes:
1. Start with a clear base coat to protect your nails.
2. Choose two contrasting nail polish colors and apply one as the base color. Let it dry completely.
3. Use a steady hand or nail striping tape to create geometric shapes with the second color. Triangles, squares, and lines are all great choices.
4. Allow the design to dry, and finish with a clear top coat for a glossy finish.
Gradient Nails:
1. Begin with a clear base coat.
2. Apply your lightest nail polish color as the base and let it dry.
3. Dab the two chosen colors onto a makeup sponge, overlapping them slightly.
4. Gently press the sponge onto your nail, moving it up and down to blend the colors.
5. Repeat this process for all your nails.
6. Finish with a clear top coat for a smooth gradient effect.
Splatter Paint Nails:
1. Protect your workspace with newspaper or a plastic sheet.
2. Apply a base coat to your nails.
3. Mix your chosen nail polish color with a bit of acetone to thin it out.
4. Dip an old toothbrush into the thinned polish and hold it over your nails.
5. Use your thumb to flick the bristles, creating a splatter effect on your nails.
6. Clean up any excess polish on your skin with a cotton swab dipped in nail polish remover.
7. Finish with a clear top coat for a glossy finish.
Essential and Affordable Tools for At-Home Nail Art: –
Building a budget-friendly nail art toolkit is easier than you might think. Here are some essential tools and where to find them without breaking the bank:
1. Nail Polish: Look for affordable brands that offer a wide range of colors. Drugstores often have budget-friendly options.
2. Nail Striping Tape: You can find nail striping tape online or in beauty supply stores at reasonable prices.
3. Makeup Sponges: These can be found at any drugstore for a fraction of the price of specialty nail sponges.
4. Old Toothbrush: You likely have one lying around at home, making it a cost-effective splatter paint tool.
Maintaining Your Nail Art on a Budget: –
Keeping your nail art looking fresh doesn’t have to be expensive. Here are some budget-friendly maintenance tips:
1. Olive Oil for Cuticles: Instead of investing in cuticle oils, use olive oil from your kitchen to keep your cuticles hydrated.
2. Homemade Nail Polish Remover: Mix equal parts vinegar and lemon juice to create an effective nail polish remover at home.
3. Top Coat: Applying a clear top coat every few days can help protect your nail art and extend its lifespan.
Conclusion: –
Creating stunning nail art designs at home can be both a rewarding creative outlet and an excellent way to pamper yourself without overspending. With the right designs, step-by-step guides, and affordable tools, you can unleash your inner nail artist without breaking the bank. So, gather your supplies, get creative, and let your nails become your canvas for beautiful and budget-friendly self-expression. Happy budget nail art adventures!

